Design Your Space: Photographer’s Guide to Designing Wall Art Displays
Topic: Photography Tutorial
Time Investment: 5 Minutes
Suggested Product: All-in-One Contract Bundles
You have a compilation of photos and/or art pieces you would like to use in your home… what to do? Scared of actually putting them on the wall? How do you plan so it doesn’t look like a blind monkey threw them up on your wall?
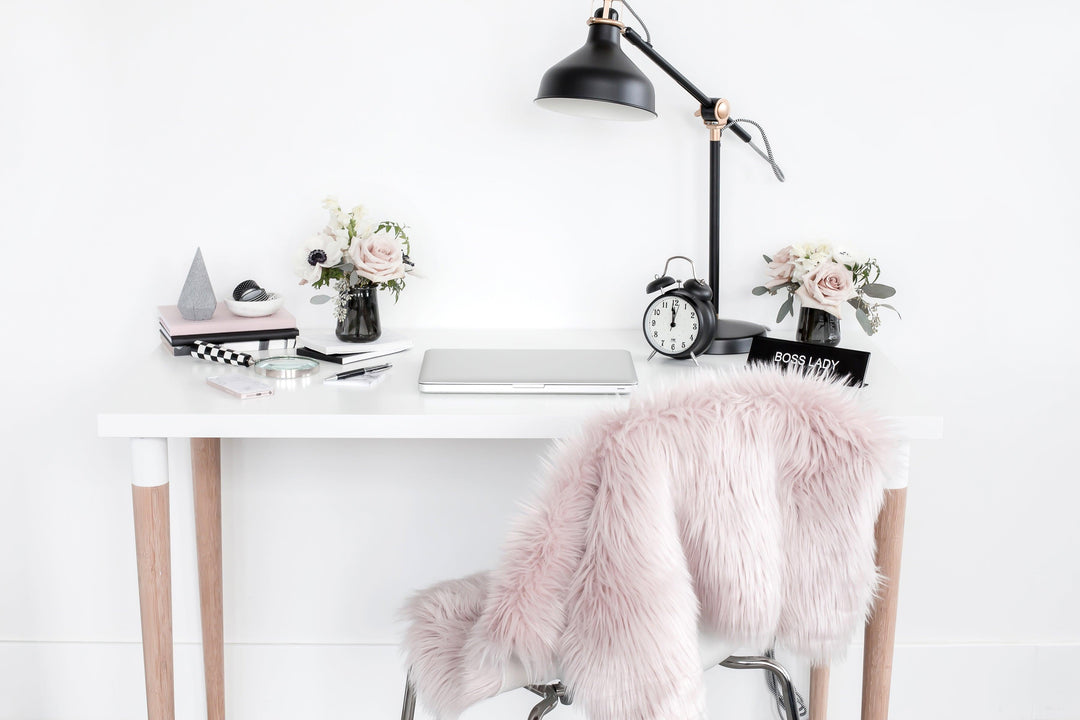
Gather your favorite photos and anything you love. I’m of the opinion that it doesn’t have to match perfectly, but as long as it suits your style and you enjoy it – go for it! I have a more eclectic style, but as long as the pieces balance one another, it works for me.
This is my MVP system – although we are not talking NBA players, this will make you feel like the most valuable person in your home after everyone enjoys the beautiful and personal space you design for your family.
Measure
I suggest measuring over pieces of furniture. This way if you move or change up the furniture in your home, the art will always look great no matter where that couch, table, cabinet, or dresser goes. I also suggest you place art and photos where you will most enjoy them – think of where your family spends the most time – could be a kitchen, family room, bedroom, or maybe a bathroom.
Visualize
I use kraft paper (or any wrapping paper you have) and cut it into the shape & size of each piece to go on the wall.
- Write one or two words of what that piece is so you can plan where those pieces will go (I don’t want too many of the same type against one another).
- Make a mark where the hanger is so you can place the nails or screws in the wall correctly the FIRST time. Check for studs first and plan around where you can nail into the wall if your art pieces are on the heavy side.
- Place each piece of paper on the wall of where you would like it. Stand back and see if you like the design. Get a second opinion! Maybe even take a photo and send to someone who has good taste in design.


Place
Now the fun part!! With the paper still up, make a small mark with the nail or screw on the marker you made for the hanging hardware. Put up all your nails and then hang your lovely photos and art pieces!
Sit back and enjoy your work!
You now have a great excuse to invite some friends over to enjoy your new art display.

Part of the experience I provide to my clients is that I help them visualize their portraits in their home before they invest. I take photos of their home during our consultation and use these to determine their personal style and find the perfect place for their portraits. During their viewing session, I use these photos and project the images so we can select the appropriate size, frame style (or canvases) and place their portraits ”in their home”. Everyone loves knowing they are getting something that will look perfect in their space – I love my job!
Thanks to Shayna from Shayna Hardy Photography for today’s guest blog post!
Share this
Popular posts